Linking Documents in the WYSIWYG Widget
May 04, 2023
Linking a document in the WYSIWYG is a great way to give everyone easy access to the information they need without having to navigate to different pages to find separate documents. In this article you will find different ways to link documents in the WYSIWYG widget.
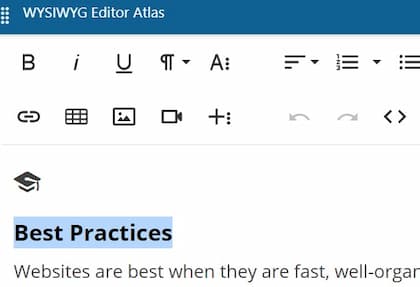
2. Highlight the text that will be linked to the new document. If the word or sentence is already hyperlinked, it will need to be highlighted the same way.
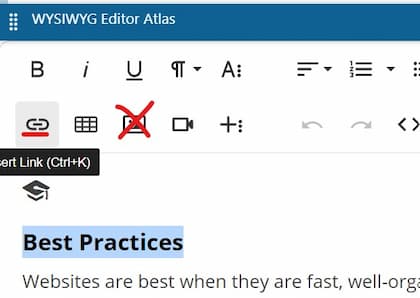
3. While the text is highlighted, scroll up and click on 'Insert Link'. Don’t click on the media image even though in the next step the icon will be the same. They do not allow uploading same types of files.
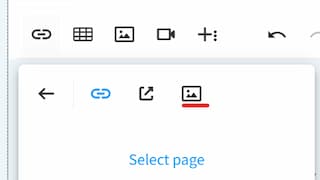
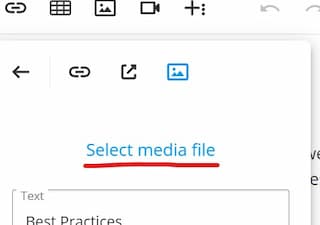
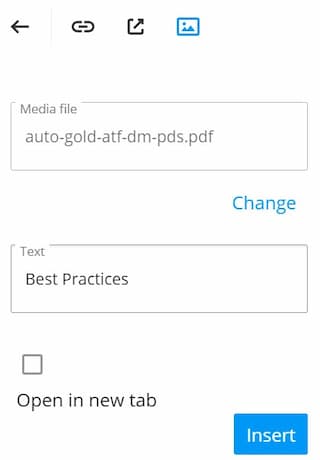
4. In this step, click on the media icon and then select media file.
5. Your media library will open. Navigate to the folder where you want to upload the new pdf.
6. Highlight the pdf you just uploaded and then click Select.

7. You will return to the previous screen. Make sure the selections are all correct and then click Insert.
8. Save the page to save the changes.
1. Navigate to the page where you need to make the change.
2. Once you locate the WYSIWYG widget, click on the Code View icon to change the view to HTML code.
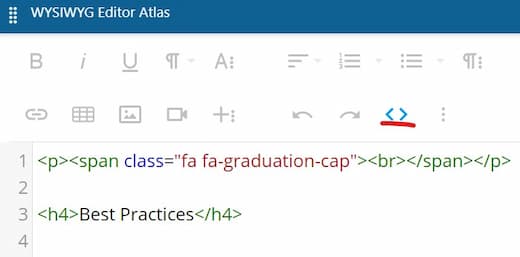
3. Scroll down to where the document is linked. Change the highlighted pdf link to the new pdf link from the media library direct path. You will have had to upload the pdf to the media library prior to doing this step.
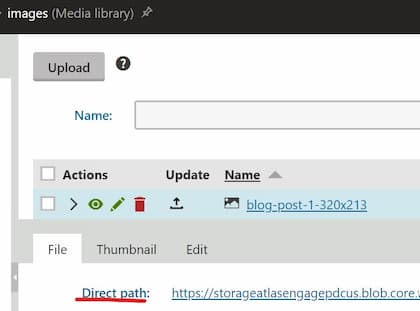

4. Once you update the link, scroll back up and click on the brackets to revert back to regular view. Save the page to save the changes.
Linking using 'Insert Link'
1. Navigate to the page where you need the change made.2. Highlight the text that will be linked to the new document. If the word or sentence is already hyperlinked, it will need to be highlighted the same way.

3. While the text is highlighted, scroll up and click on 'Insert Link'. Don’t click on the media image even though in the next step the icon will be the same. They do not allow uploading same types of files.

4. In this step, click on the media icon and then select media file.


5. Your media library will open. Navigate to the folder where you want to upload the new pdf.
6. Highlight the pdf you just uploaded and then click Select.

7. You will return to the previous screen. Make sure the selections are all correct and then click Insert.

8. Save the page to save the changes.
Linking Using the Code View
This step requires uploading the document to the media library prior to updating the link in code view. See the Media Libraries application page to learn more information how to do this.1. Navigate to the page where you need to make the change.
2. Once you locate the WYSIWYG widget, click on the Code View icon to change the view to HTML code.

3. Scroll down to where the document is linked. Change the highlighted pdf link to the new pdf link from the media library direct path. You will have had to upload the pdf to the media library prior to doing this step.


4. Once you update the link, scroll back up and click on the brackets to revert back to regular view. Save the page to save the changes.